Build your own photo booth
for about $600, and keep it
A rental is $700–$1,500 for four hours and gone by midnight. This is the shopping list, the setup, and the printing, for a booth you own.
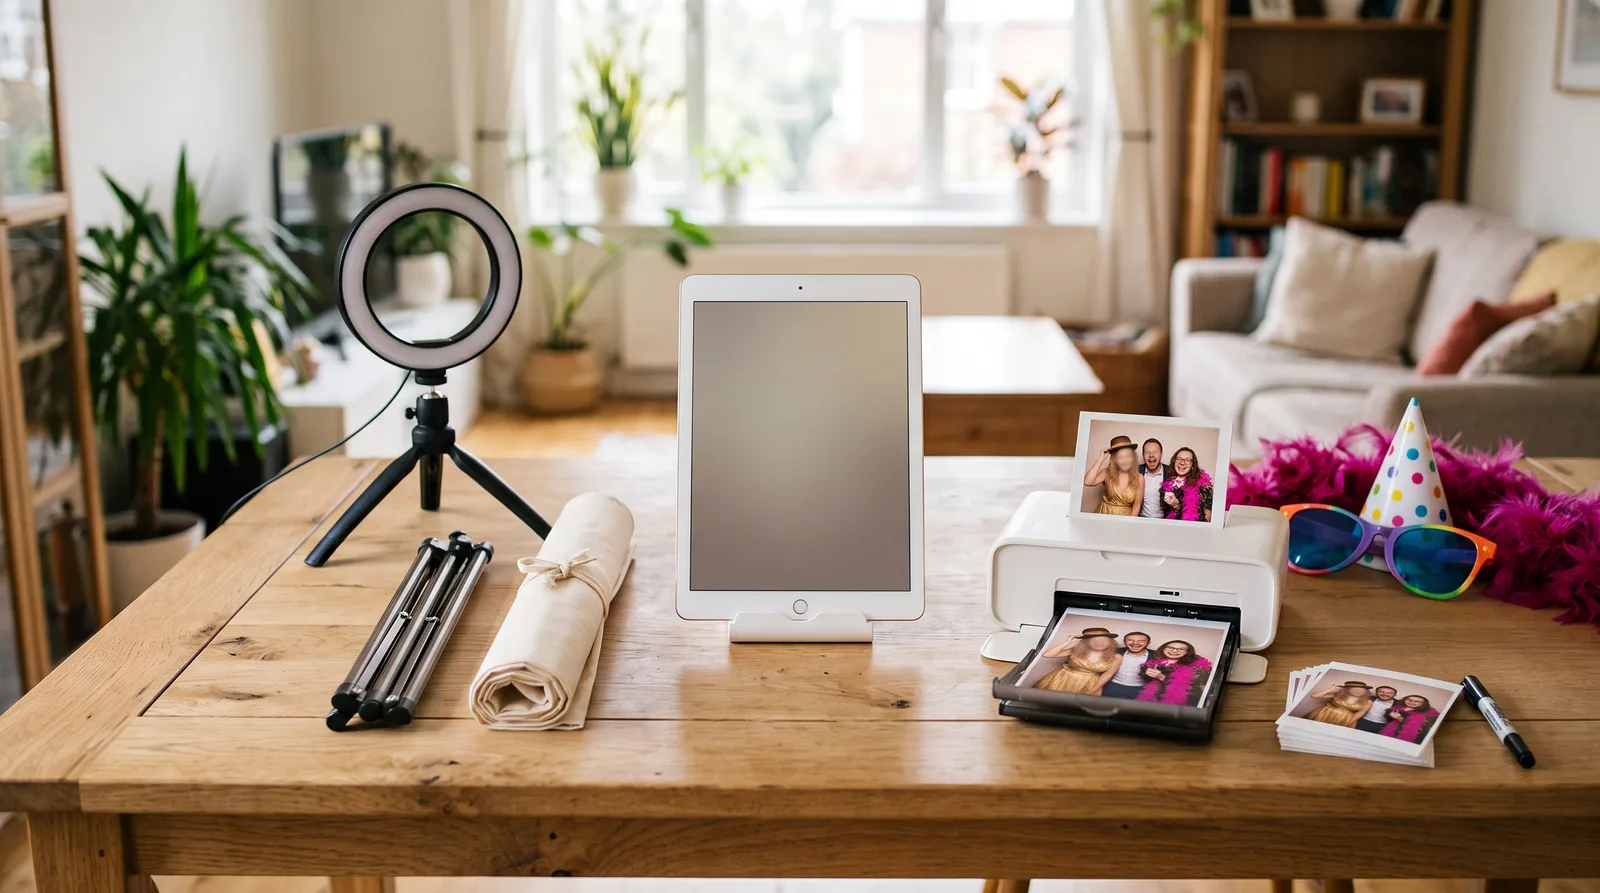
Prices in US dollars, last checked September 2026 • You keep the hardware
The shopping list
Four things and an app. No brand deals here, these are just the parts that work.
iPad
The base 11-inch model is plenty. The booth uses the front camera and the screen is the whole experience, so bigger beats faster. A used iPad from the last five years works. Keep it plugged in: the camera eats battery.
Ring light on a stand
An 18-inch ring light directly behind the iPad, at face height, set to daylight white. This one item is the difference between "phone selfie" and "photo booth". Skip the tiny clip-on ones.
Tablet stand
A floor stand or a tripod with a tablet mount, so the screen sits at eye height for adults and cannot tip over when a group leans in. Most ring lights have a phone clip in the middle; a tablet mount replaces it.
Backdrop
A sequin curtain on a cheap backdrop stand, a balloon arch, a flower wall, or the nicest wall in the venue with a banner. Keep it two steps behind the guests so the light does not throw hard shadows on it.
Knipsmig photo booth bundle
Custom frames, countdown, flash and shutter sound, a QR code on screen so guests grab their photo in seconds, and the whole album kept online forever. Guests' own phone photos land in the same gallery through the event QR code. One-time, no subscription.
Already own an iPad? Then the whole thing is about $204.
Prints in their hands before they leave
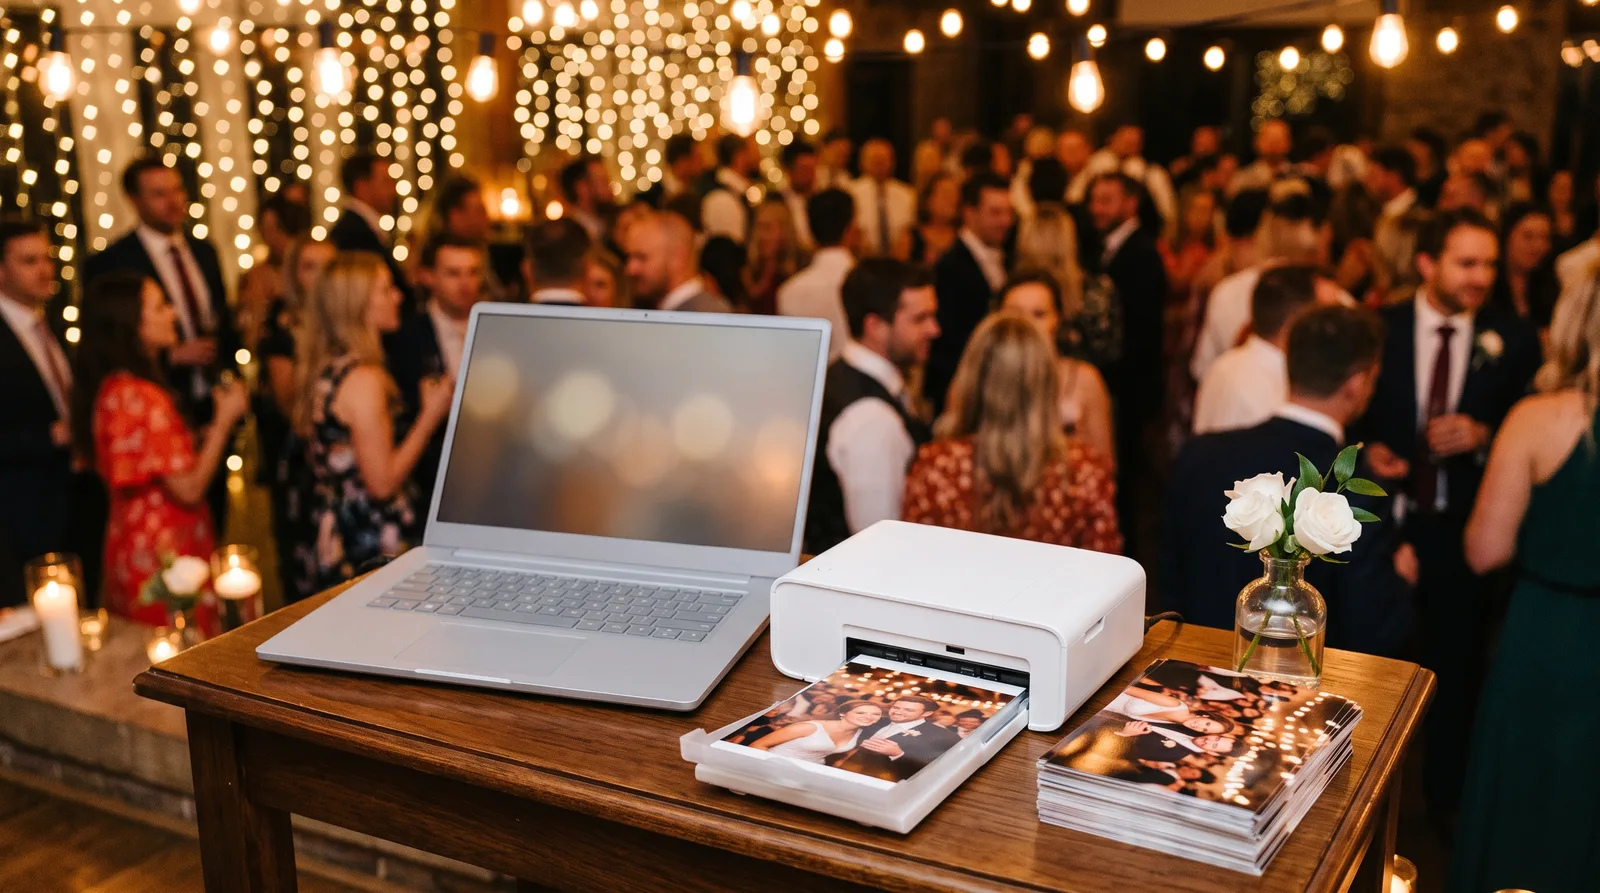
Every Knipsmig event has a print station. Open it next to a photo printer and each new booth photo comes out on 4x6 paper by itself, borderless, with your frame.
Compact photo printer
A Canon Selphy CP1500 prints a dry, smudge-proof 4x6 in about 40 seconds over wifi or USB and costs about 35 cents per print in paper and ink. Right for weddings and parties where a print a minute is plenty.
Event dye-sub printer
A DNP DS-RX1 or similar is what rental companies run: 4x6 in about 12 seconds, hundreds per roll. Worth it if you will run the booth at many events. It is USB only, so it hangs off a laptop.
How the print station works
-
1
Connect the printer to a laptop
Any Mac or Windows laptop with the printer's driver installed. Set the paper to 4x6 borderless once.
-
2
Open the print station from your event dashboard
Choose 4x6, 5x7, 6x8 or letter, choose whether to fill the paper, and switch on auto-print. From then on every new booth photo is sent to the printer, one every 15 seconds so the queue never runs ahead of the paper.
-
3
Optional: no dialogs at all
Launch Chrome with its kiosk printing flag, which the print station page shows you how to do, and prints go straight to paper with nobody clicking anything. Without it, each print asks for one click. From an iPad instead of a laptop, each print is one tap in the AirPrint dialog.
-
4
Reprint anything with a tap
The station shows every photo from the event. Tap one to print it again for the grandparents.
The print station is in beta. It has been tested against the browser print flow; tell me how it behaves with your printer and I will fix what needs fixing.
Set it up in 20 minutes
Do the software part at home the day before. On the day, it is stand, light, backdrop, done.
Create the event
Ten seconds, no account needed to start. Claim it with your email so it stays yours.
Unlock the booth
The $49 bundle unlocks frames, timers, sounds and QR downloads, and keeps the album forever.
Pick or upload a frame
Your names and date, the company logo, or a template. It is overlaid on every photo automatically.
Put the booth on the iPad
Open the booth link in Safari, add it to the home screen, allow the camera, and turn on Guided Access so guests cannot leave it.
Light and backdrop
Ring light behind the iPad at face height, backdrop two steps behind the guests, iPad plugged in.
Prints, if you want them
Laptop next to the printer, print station open, auto-print on. Test one print before the guests arrive.
The math against a rental
| Rental booth | Your own kit | |
|---|---|---|
| One event | $700–$1,500 | $600 once |
| Three events | $700–$1,500 each time | $600 total |
| Hours | 3 to 4, then overtime | As long as the party |
| Prints | Included for the rental window | about 35 cents each, all night |
| Guest downloads | Gallery link days later | QR on screen, seconds |
| Everyone's phone photos | Not collected | Same album, same QR |
| Attendant | Included | You, or nobody |
| Afterwards | Van drives away | Hardware stays yours |
Curious what rentals cost where you are? Prices by city.
What you do not get
So nobody is surprised on the night.
-
An attendant
The booth resets itself and guests are good at tapping a big button, but nobody is reloading paper for you. A friend checking in once an hour is enough.
-
360 video, mirror booths, GIFs
The booth takes stills with a frame. If the 360 platform is the point, rent one.
-
Photo strips
Prints are single 4x6, 5x7 or 6x8 photos, not 2x6 strips with four poses. Most guests prefer the bigger print; some miss the strip.
DIY photo booth questions
What do I need to build a DIY photo booth?
An iPad or tablet, a stand at eye height, a ring light behind the tablet, a backdrop, and the Knipsmig photo booth bundle for $49. That is about $600 in the United States and you keep every piece. A photo printer is optional and adds about $217 with paper.
Which iPad works for a photo booth?
Any iPad that runs a current Safari. The base 11-inch model with the A16 chip is more than enough, and a used iPad from the last five years works too. The booth uses the front camera, so screen size matters more than camera specs.
Can a DIY photo booth print photos?
Yes. Open the Knipsmig print station on a laptop connected to a photo printer and every new booth photo prints on 4x6 paper automatically, about one every 15 seconds. Compact printers such as a Canon Selphy work, and so do event dye-sub printers such as the DNP DS-RX1. From the iPad itself, each print is one tap in the AirPrint dialog.
Do guests get their photo?
Yes. After each shot the booth shows a QR code. Guests scan it and the photo is on their phone in seconds, full resolution, with your frame. Everything also lands in the shared event gallery.
How is this different from renting a booth?
A rental is $700–$1,500 for four hours with an attendant and gone by midnight. The kit is about $600 once, runs as long as the party does, and comes home with you. What you give up is the attendant, and hardware experiences like 360 or mirror booths.
What is in the $49 bundle?
Custom frame overlays, countdown and review timers, shutter sound and flash, localized start-button text, a QR code on screen for instant guest downloads, and the full Keepsake upgrade: the whole event album kept online forever with free full-resolution downloads for guests. One-time payment, no subscription.
Does the booth need wifi?
Yes, for uploads and the QR downloads. Venue wifi or a phone hotspot is fine. Photos queue on the iPad if the connection drops and upload when it comes back.
Photo booth rental prices in other cities
Same booth, same $49, local rental prices for comparison
The app is the cheap part
Frames, countdown, QR downloads, the print station and an album kept forever, for $49. The iPad you probably already have.
Free to start • One-time $49 • No subscription